


Let’s suppose there is an application that we want to deploy on a server, but before we run this application, there are a couple of packages that need to be installed on the machine as prerequisites. One way is to install all the dependencies manually and then deploy the application. The whole process needs to be repeated if the same application needs to be deployed on multiple environments. If the number of instances is more, the manual work of installing dependencies becomes cumbersome and prone to error, and not the best use of your developer’s time.
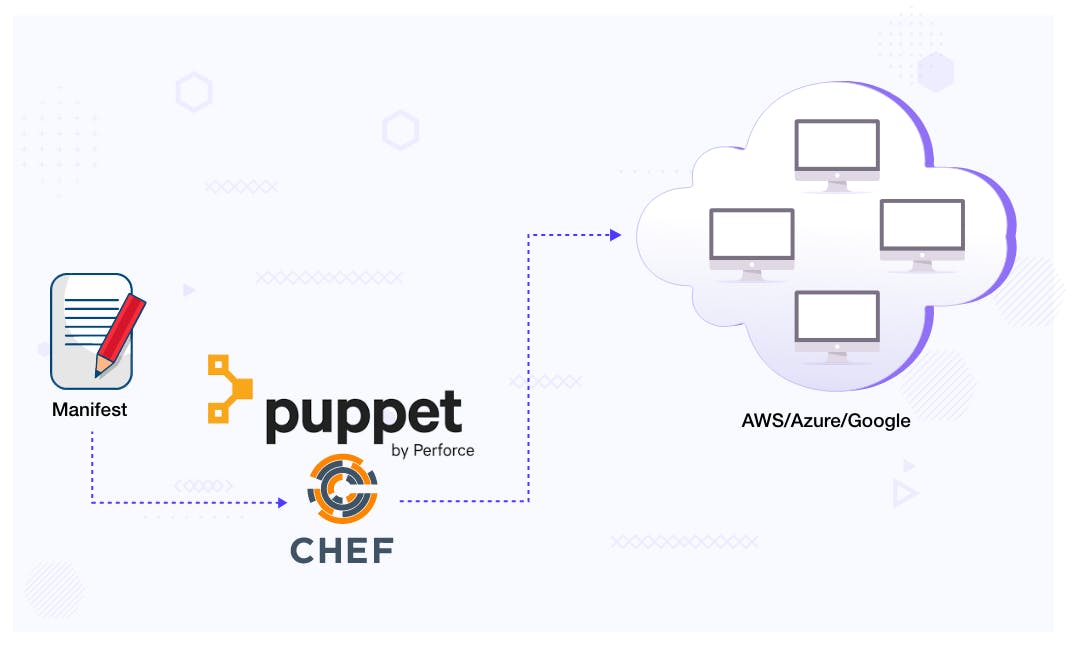
Another way of configuring the instances is using a configuration management tool like Puppet or Chef. So a tool like Puppet will install all the dependencies for the application once a new instance is created, but installing dependencies increases the boot time and makes the process slow.
And what happens when a developer updates the application code or adds a new feature that needs new dependencies to be installed? How do we update all these instances with new dependencies?
One way is to go to each instance, install the dependencies and restart the application one by one, this way of updating the infrastructure is prone to error, and this is where immutable infrastructure comes in.
Immutable infrastructure is where we would never update an existing instance; once it's there, it never gets modified, and when we need to make a modification, we just create a brand new virtual machine image that is configured with all the dependencies.
So the recommended way is to abstract the configuration using golden images. Golden images are nothing but machine images with all the pre-installed dependencies, which will reduce the boot time for instances and the chance of failure during autoscaling events. The idea of golden images is pretty simple, and this can be automated using Packer.
What is Packer?
Packer is an open source tool that automates the creation of identical machine images from a single configuration source. With Packer, we can create configuration templates by codifying the dependencies. While Packer helps to automate the image creation process, it provides flexibility to use tools like Ansible, Puppet and Chef to install dependencies, however it doesn't actually replace them. Below are some benefits of using Packer and how it is different from the above mentioned configuration tools.
Benefits of using Packer and Golden Images
- Packer helps create golden images with great ease, resulting in faster infrastructure deployments.
- Packer supports multiple providers be it AWS, VMware, etc. A full list can be found in the documentation.
- Since Packer installs software at the time the image is built, errors can be caught early which helps in improving the stability.
- Hardening of an image can also be done using Packer.
Components of Packer
Packer template determines Packer’s behavior, which consists of a series of declarations and commands. This template tells Packer what plugins (builders, provisioners, post-processors) to use, how to configure these plugins, and in what order to run them. Although the Packer template can be written in JSON, from version 1.7.0 HCL2 becomes the officially preferred way to write the Packer configuration. HCL2 is the same configuration language used by Terraform, which makes it easy for DevOps engineers to learn. Let’s look at the commonly used Packer components:
- Builders: They create machines and generate images from those machines. There are separate builders available for EC2, VMware, VirtualBox, etc. Refer to the official documentation of Builders to know more.
- Data Sources: Just like the data source works in Terraform, the data source in Packer fetches data that is defined outside Packer.
- Provisioners: Provisioners are optional and can be used to install software or dependencies and configure the machine image after booting. Packer can use built-in and third-party tools to install the dependencies like Ansible. Read more about the provisioners from official documentation.
Automating Building a Golden AMI
We will now see how to create and automate building a golden image using Packer. In this setup, we will be creating an image and will also see how we can install all the dependencies in the image using Packer provisioners.
Prerequisites
- AWS account - Follow the official link to create an account.
- AWS CLI - Install and configure AWS CLI by following the official documentation
- Packer - Install Packer from the official documentation
- Ansible - Install Ansible from the official documentation
Packer Configuration with Ansible Provisioner
Lets jump over to a demo and create an AMI by creating a Packer template and save this file with the name packer.pkr.hcl:
packer {
 required_plugins {
   amazon = {
     source = "github.com/hashicorp/amazon"
     version = "~> 1.1.1"
   }
 }
}
source "amazon-ebs" "custom-ami" {
 ami_name      = "packer-custom-ami"
 instance_type = "t2.micro"
 region        = "us-east-1"
 source_ami    = "ami-08c40ec9ead489470"
 ssh_username  = "ubuntu"
 profile       = "aws-profile-name"
 tags = {
   Name = "packer-custom-ami"
 }
}
build {
 sources = ["source.amazon-ebs.custom-ami"]
}
The packer { } block contains Packer configuration, which includes the required Packer version and required_plugins.
The source block configures a specific plugin, which is invoked by the build block. Source block uses builders(EC2, File, VMware) and communicators(ssh, winrm) to define how to launch the image and how to connect to it. In the above example, the amazon-ebs builder configuration launches a t2.micro instance in the us-east-1 using an ubuntu:canonical AMI as the base image, then creates an image names packer-custom-ami.
The build block defines what steps Packer should take after the launch of the EC2 instance, for example, installing any package, files to copy, etc. Refer to the official documentation to know more about the build block.
Once the template is created, it's time to build the AMI, but before we start building the AMI, we need to provide AWS credentials to Packer. And if you notice in the above template, we have passed an additional parameter in the source block profile where we give the AWS profile name. Other ways of providing the credentials to Packer can be found in the official Packer documentation.
Let’s go through some of the Packer commands we will be using in order to build the image and understand the usage.
packer initis used to download the Packer plugin binaries. This is the first command that should be executed.packer fmtis used to fix the format of the template.packer validateis used to validate the syntax and configuration of the template.packer buildtakes a template and runs the build to generate artifacts.
Since we have everything ready, let's build with the template we have created above.
➜ packer init packer.pkr.hcl
➜ packer validate packer.pkr.hcl
The configuration is valid.
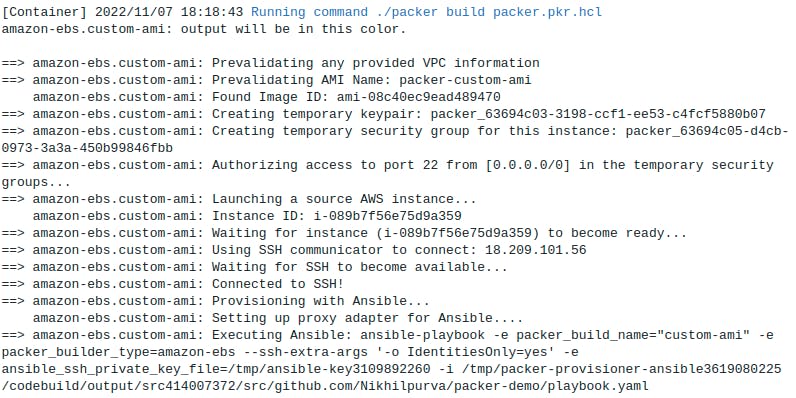
➜ packer build packer.pkr.hcl
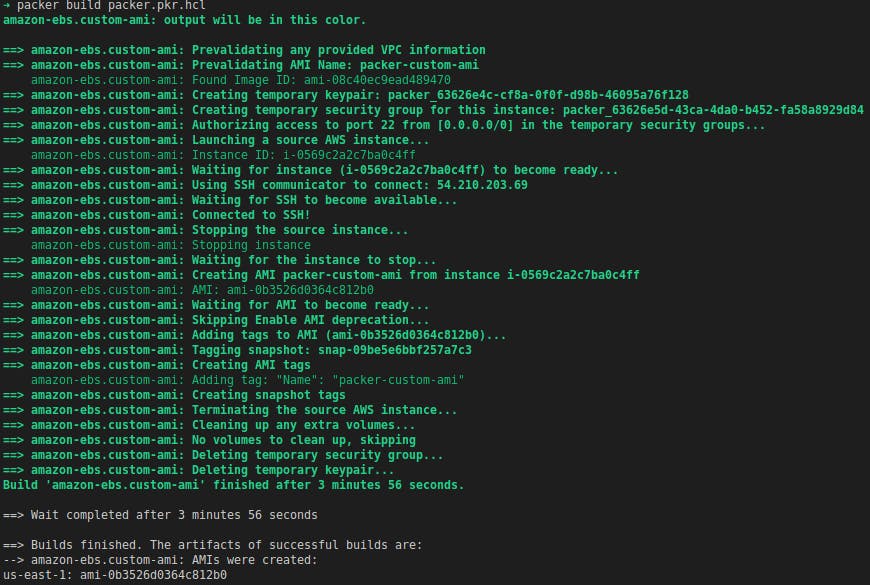
From the above output, we can see that Packer has built the template and generated an AMI. But this AMI is still the base image without any custom packages installed in it. That is because we didn’t pass any instructions to install any package or take any steps inside the image.
Now we will make use of Packer Provisioners. In the above template, we will add an Ansible provisioner that will install packages in the instance and create an AMI accordingly.
Let’s create an Ansible playbook playbook.yaml which will have all the configurations that will be used to install the packages.
---
- name: This playbook is used to install the packages
  hosts: all
  become: true
  vars_files:
    - packages.yaml
  tasks:
  - name: Update the apt repository
    apt:
      update_cache: yes
  - name: Install the packages
    apt:
      name: "{{ item }}"
      state: present
    loop: "{{ packages }}"
In this playbook, we are using the Ansible loops which iterates over packages.yml where we have defined the list of the packages we want to install. Here is the snippet of the packages.yaml.
packages:
 - curl
 - wget
 - git
 - openjdk-8-jre-headless
 - make
Now, add an ansible provisioner in the Packer template and run packer build to create an AMI with all these packages pre-installed.
packer {
 required_plugins {
   amazon = {
     source  = "github.com/hashicorp/amazon"
     version = "~> 1.1.1"
   }
 }
}
source "amazon-ebs" "custom-ami" {
 ami_name      = "packer-custom-ami"
 instance_type = "t2.micro"
 region        = "us-east-1"
 source_ami    = "ami-08c40ec9ead489470"
 ssh_username  = "ubuntu"
 profile       = "aws-profile-name"
 tags = {
  Name = "packer-custom-ami"
 }
}
build {
 sources = ["source.amazon-ebs.custom-ami"]

 provisioner "ansible" {
   playbook_file = "./playbook.yaml"
   user          = "ubuntu"
 }

}
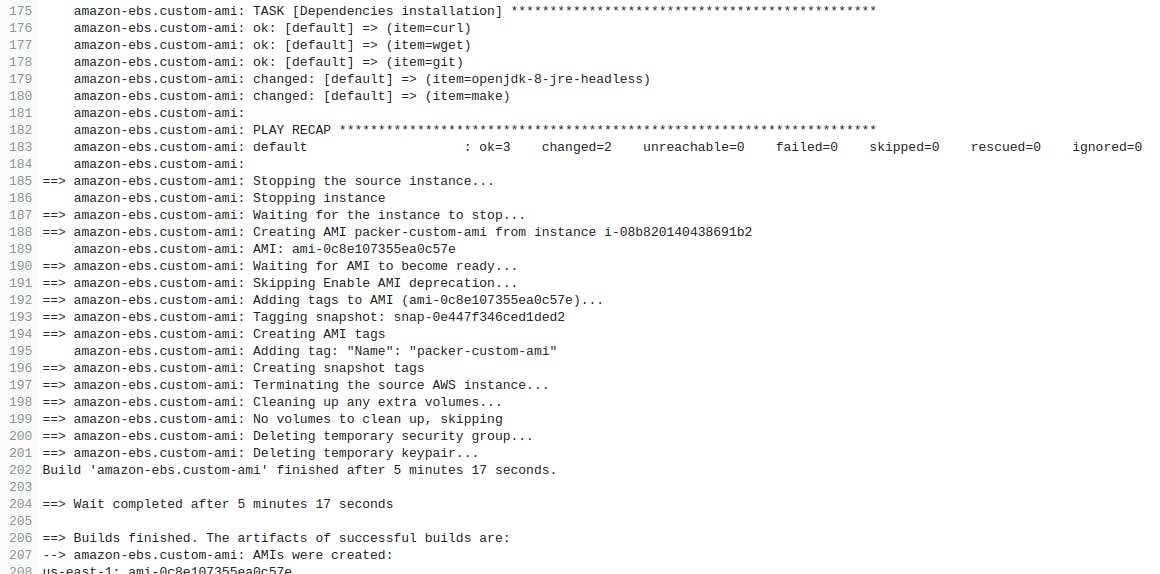
Let’s build the template:
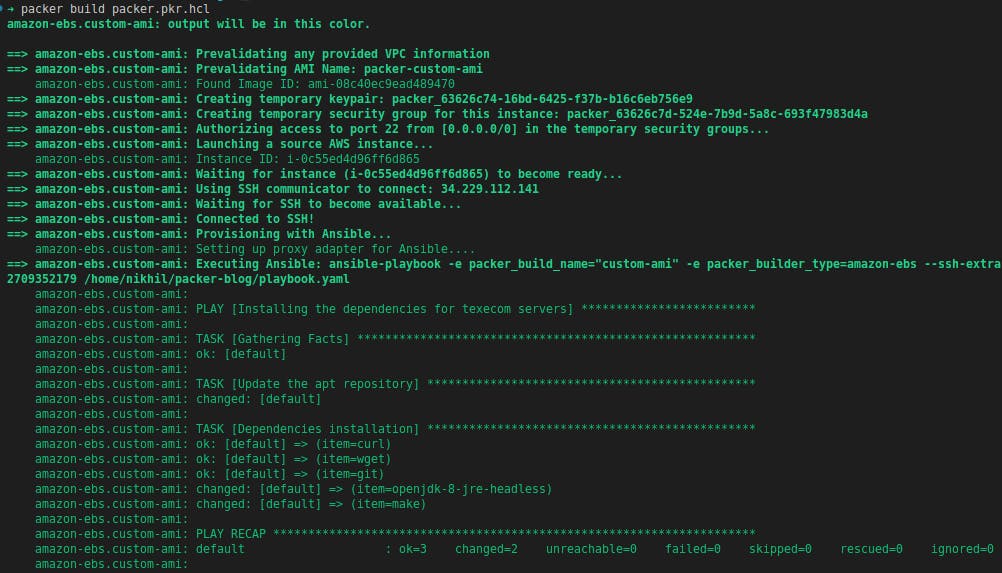
Now, if you compare the recent output with previous output, you will observe that this time Ansible is installing all the packages in the instance which are now available as pre-installed in the AMI.
So, what actually happens when we run the packer build command?
- Packer creates an EC2 instance as shown in the below screenshot.
- Installs all the dependencies according to the Packer template, then creates an AMI.
- Once the AMI is created, it destroys the instance automatically.


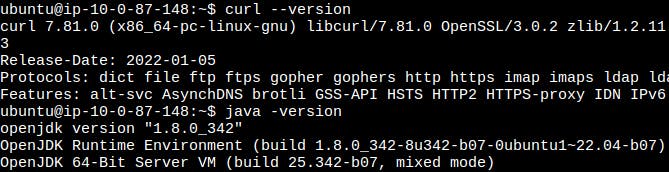
Let’s now create and launch an instance using the AMI and verify the golden image. From the below screenshot, we can see that all the dependencies are now pre-installed in the instance.
Automating the Golden AMI creation using CodeBuild
So far in the above demo, we have seen how Packer has helped us in generating the Golden AMIs, but the process was manual. Wouldn’t it be great if this process can be automated?
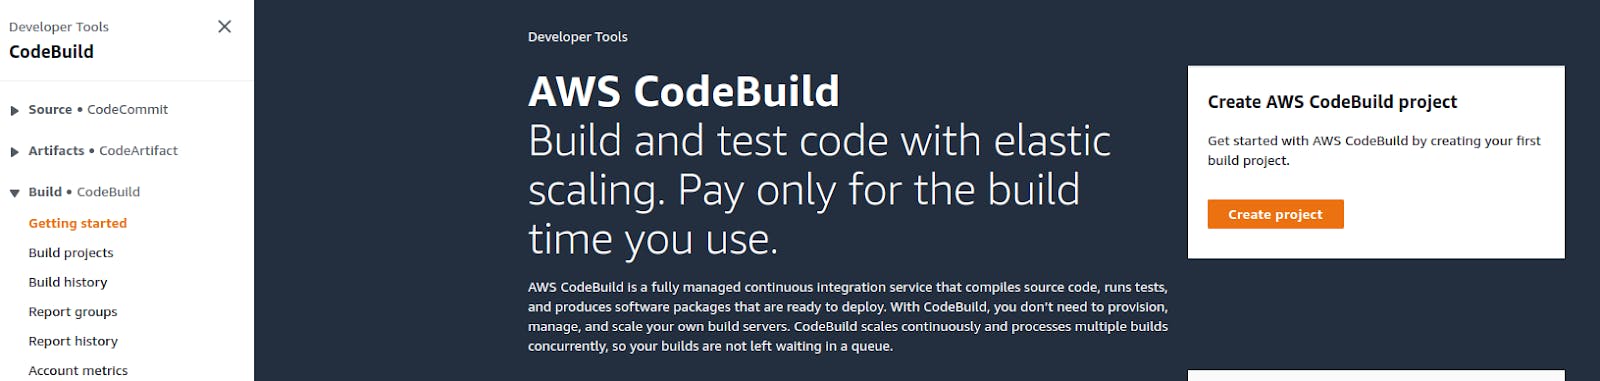
In the next section, we are going to automate this process with the help of CodeBuild which is an AWS fully managed continuous integration service.
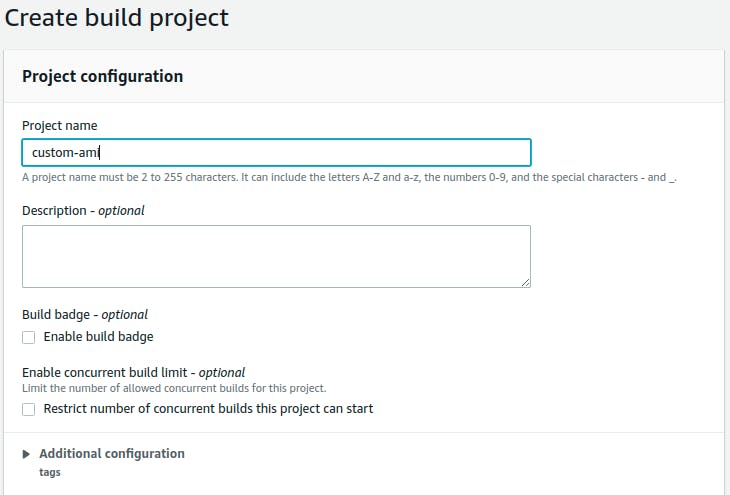
Let’s start with creating a CodeBuild project. Go to CodeBuild and click on Create project:
Enter a Project name:
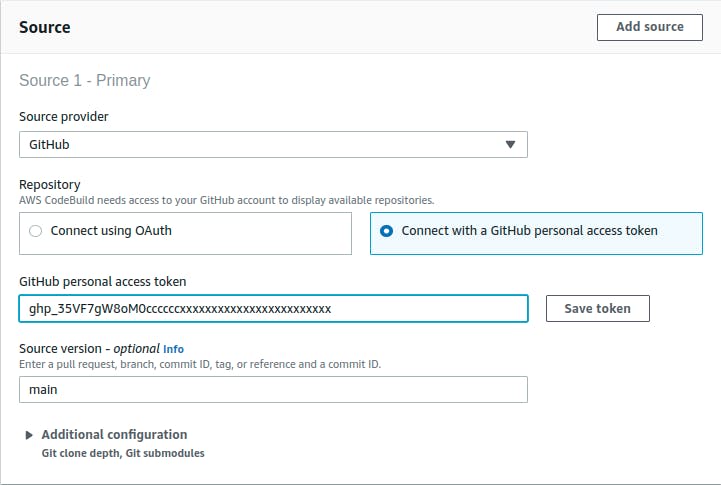
Select the Source Provider, I am selecting GitHub for my demo. Connect to repo using either OAuth or GitHub PAT. Enter the GitHub PAT and save the token:
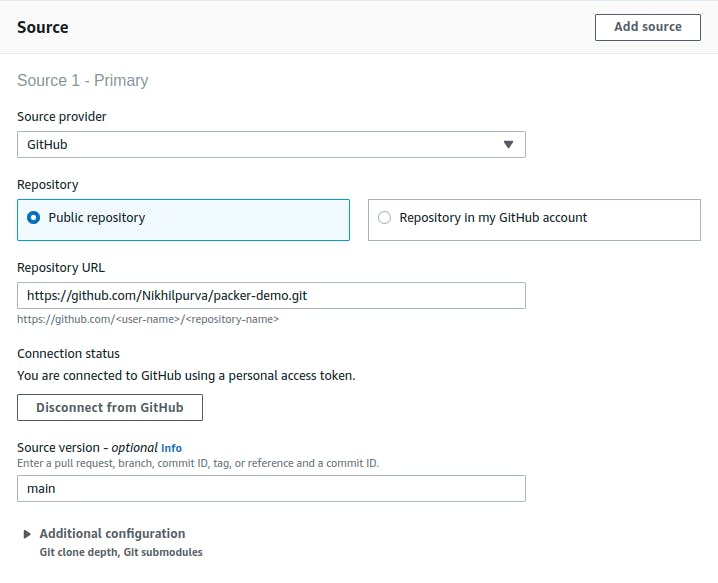
Once the connection to the GitHub account is successful, enter the repository URL:
Let’s now configure the Environment that CodeBuild will be using to run a build:
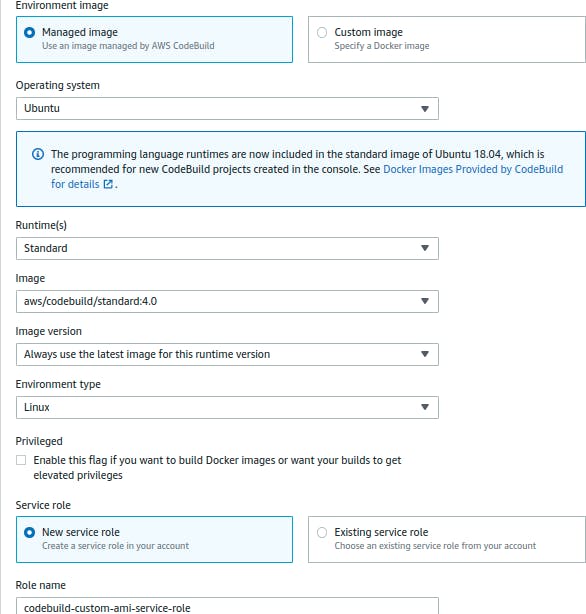
Note: In the Environment section it has created a Role codebuild-custom-ami-service-role which has permission to put the logs on CloudWatch or S3, but we also need some permission for EC2 as well. So go to this role and add a policy manually, as mentioned in the official AWS AMI documentation.
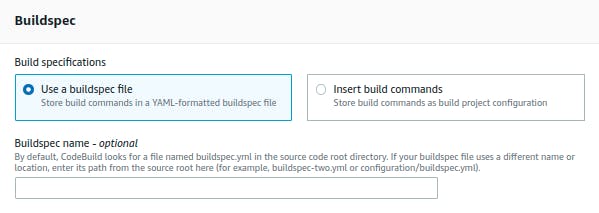
Next step is Buildspec, A buildspec is a collection of build commands in YAML format that CodeBuild uses to run a build and since we have buildspec.yaml file in our repo, select Use a buildspec file and leave other fields as default and click on the Create build project button. The buildspec.yaml installs Ansible, Packer in build environment that is required to run Packer command and runs subsequent commands to build the Packer template.
Note: You can download all the configuration files used in this demo from this GitHub repository.
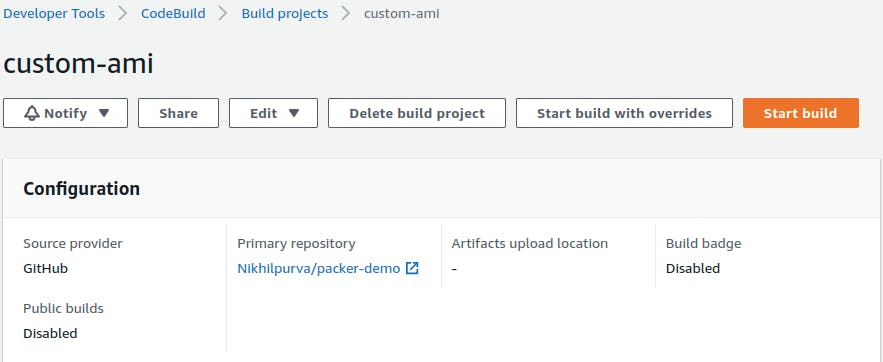
Once the build project is created, let’s click on the Start build button to begin the build which will generate the Golden AMI.
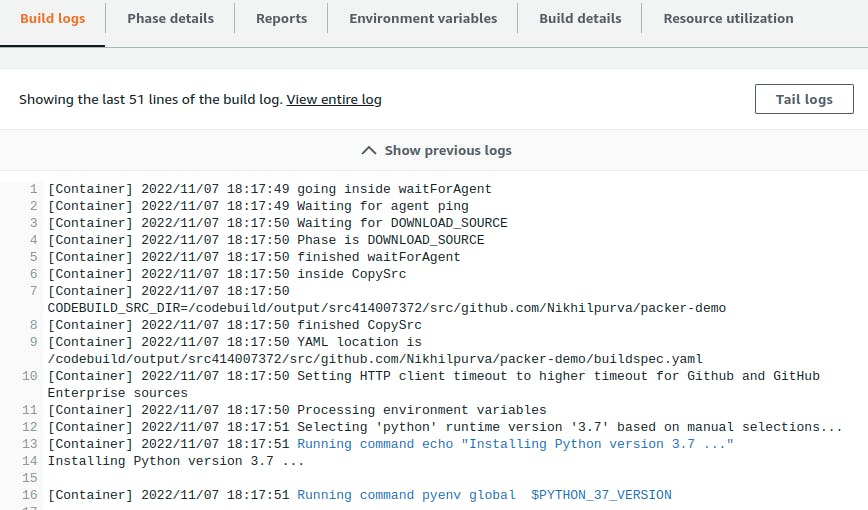
From the logs, we can see that CodeBuild is installing all the dependencies mentioned in the Environment section and then runs the packer build command to generate the AMI. Next time if we want to create an AMI with a new dependency, then just update the packages.yaml file and with the help of CodeBuild we can generate multiple AMIs. As a next step, we can also configure triggers on CodeBuild so that whenever a dependency gets added it will automatically build a new AMI.
Summary
This blog post describes the process of building the Golden AMIs using Packer, Ansible, and CodeBuild. It also describes the benefits of using these tools and how they can be used to automate the configuration process. We have also seen how the collation of these tools can help us in reducing the overall time in building and shipping the new AMIs.
That’s it, folks! I hope this article was informative to you, and I would like to hear your thoughts on this post, So let’s connect and start a conversation on LinkedIn. Looking for help with building your DevOps strategy or want to outsource DevOps to the experts? Learn why so many startups & enterprises consider us as one of the best DevOps consulting & services companies.